
Why Foam-Backed Abrasives Vary in Automotive Refinishing
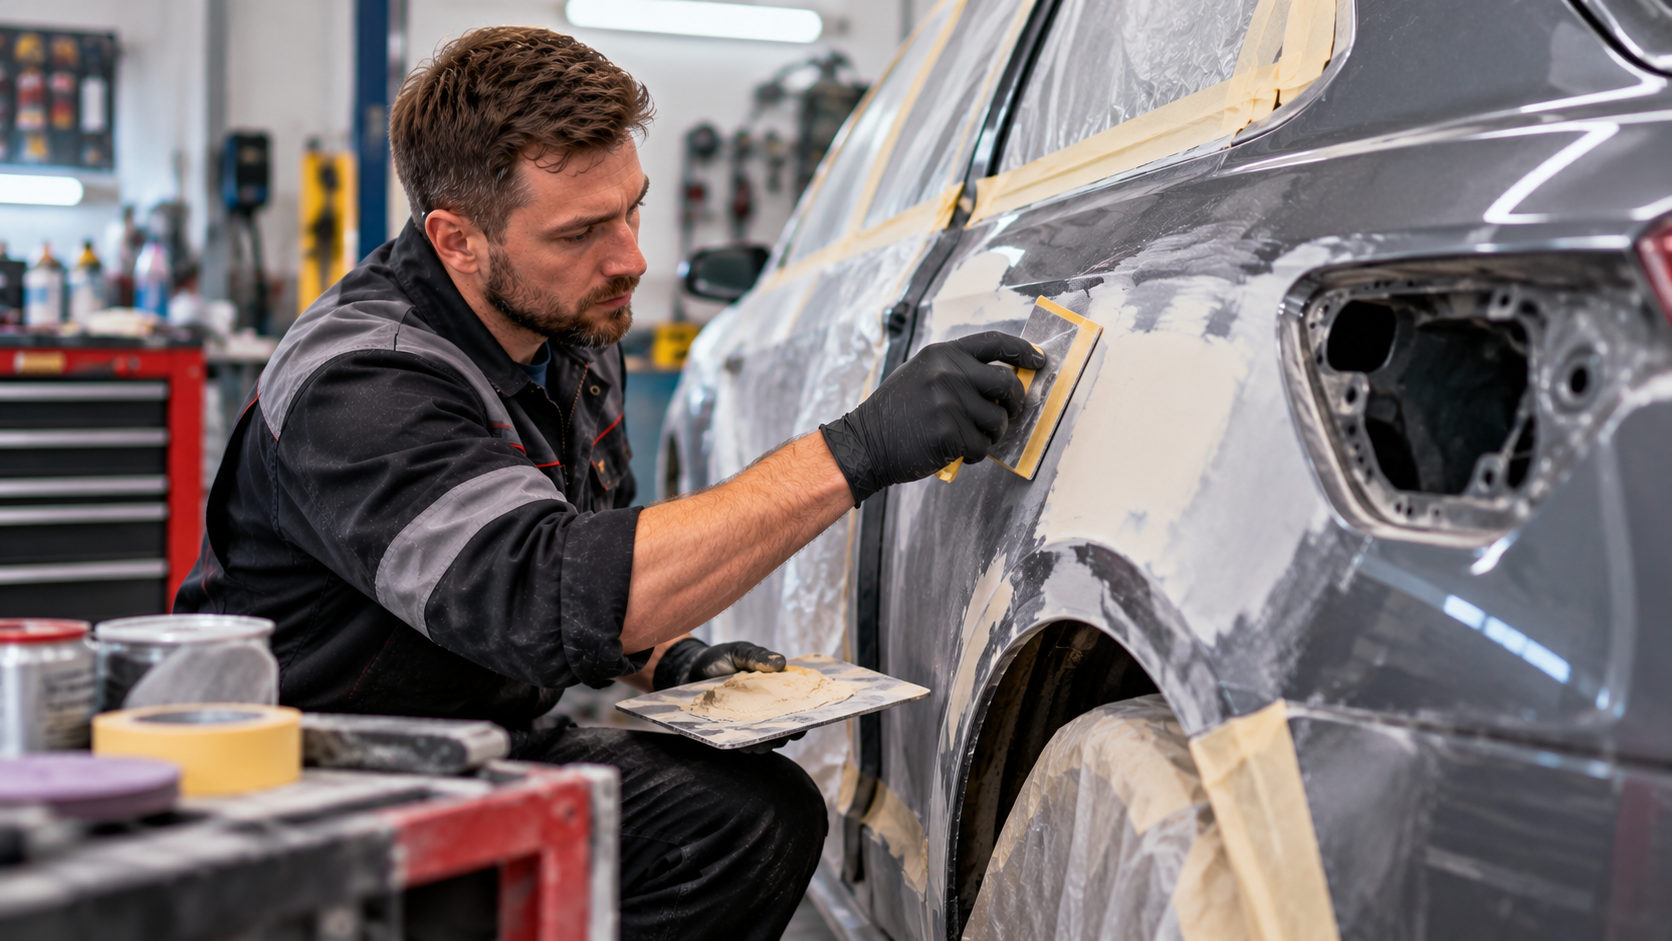
Reaching for a foam-backed abrasive because it feels soft could be quietly wrecking your prep work. Grain, density and grade all matter more than you think – so which factor actually decides whether too much coating gets stripped or too little?
Key Takeaways
- Foam-backed abrasives combine an abrasive surface with a flexible backing, which helps the product keep contact with curved or shaped panels rather than skipping across them
- A fine-finishing foam abrasive and a paint-removal abrasive are built for different jobs, so the required grit should come from the paint-system technical data, not from how comfortable a pad feels in the hand
- Flexible backing suits contours, edges and blending work, while a rigid disc or hand block is often the better choice when a repair needs controlled, even flattening
- Checking whether a foam abrasive is designed for hand use or for a specific machine and backing system matters just as much as choosing the right grit
- Six practical checks before sanding can help bodyshop teams avoid common mistakes, covering substrate identification right through to scratch-pattern inspection
Foam-backed abrasives have earned a place in most bodyshop sanding kits, but reaching for one simply because it feels soft underhand can lead to uneven prep, wasted coating, or a scratch pattern that causes problems further down the line. The backing is only one part of the story. Grain, grade, density and intended use all shape how a product performs on a given panel, at a given stage of repair.
Not All Foam-Backed Abrasives Are Equal
Foam-backed abrasives pair an abrasive surface with a backing that has more give than a standard rigid pad. That flexibility is genuinely useful on curved bonnets, wheel arches, character lines and tight edges, where a stiff disc can cut flats into a shape it should be following. On its own, though, flexibility says nothing about whether a product is meant for stripping filler, blending a repair into surrounding paintwork, or putting the final fine scratch pattern on a clearcoat before polishing.
Treating every foam-backed product as interchangeable is where mistakes creep in. IPS Paint supplies abrasives across these different grades and formats to bodyshops throughout South Wales, and manufacturer process guides are consistent on this point: the backing helps the abrasive follow the panel, but the grain and grade determine what actually happens to the coating underneath it. Picking the right one means looking past the feel of the pad and checking what the product is actually built to do.
That distinction matters because a foam abrasive chosen for the wrong reason can remove more coating than intended, leave a scratch pattern too coarse for the next step, or fail to reach tight areas that needed a different format entirely. Working through the properties that actually separate one foam-backed product from another makes that selection far more reliable.
What Foam Backing Actually Does
Before comparing specific products, it helps to understand what the foam layer itself contributes to the sanding process, and where its benefits stop.
Flexibility That Follows Curves and Contours
A soft foam backing spreads sanding pressure across a shaped surface, helping the abrasive maintain even contact rather than concentrating pressure on high points. This matters most on curved panels and uneven shapes, where a rigid backing would naturally ride up over contours and cut unevenly. Steady movement and light pressure, rather than forcing the pad into a shape, helps avoid digging deep sanding marks into the coating.
Foam-backed rolls and discs are commonly used around door gaps, wheel arches, edges and other hard-to-reach areas precisely because the backing adapts to the shape rather than fighting it. A soft interface pad can offer a similar benefit, helping an abrasive follow a curved panel instead of cutting flats into it. None of this changes what grain is sitting on the surface of the pad, which is the next piece of the puzzle.
Why Density and Grade Still Matter
Foam-backed products vary in foam density, firmness and flexibility, and that construction affects how the abrasive adapts to a surface shape. A firmer foam will behave differently to a softer one, even carrying the same grit number, because the way pressure is distributed across the pad changes with density. Conformability is useful on curves and hard-to-reach parts, but the task at hand still determines the correct abrasive.
Grade remains the factor that decides how much material comes off and what finish is left behind. A coarse grade removes more material quickly and leaves a rougher scratch pattern; a fine grade removes very little and leaves a much smoother finish ready for the next stage. Foam backing does not change this relationship. Two foam-backed products with different grades will behave very differently on the same panel, regardless of how similar their backings feel.
Where Foam Abrasives Fit the Repair Process
Understanding what the foam does only becomes useful once it is matched to where that product sits within an actual repair sequence.
Preparation, Blending and Edge Work
Manufacturer process guides include flexible foam abrasives for selected preparation and blending operations, particularly on curved panels, edges or areas adjacent to existing painted surfaces where a controlled, fine scratch pattern is required. Blending work calls for exactly this kind of control, because the aim is to feather a repair into the surrounding original paint without creating a visible line or removing more coating than necessary.
Hand sanding with a flexible foam product tends to suit edges, curves and raised body lines especially well, since these are areas where a machine risks cutting through the coating if pressure is not carefully managed. Working carefully around these vulnerable areas helps avoid unnecessary removal of the existing coating, a mistake that can be costly to put right once it has happened.
Denibbing and Finessing Before Polishing
Fine foam-backed abrasives also have a role later in the process, used for denibbing and finessing cured clearcoat ahead of polishing. At this stage, the goal is not to remove material in any meaningful sense, but to knock back small defects such as dust nibs and refine the sanding scratches left by earlier stages so the surface is ready for compound and polish. Some documented processes specify a flexible foam abrasive disc at P600 as the final sanding step after working through 400-grit or finer, particularly for critical colours where any inconsistency in finish will show.
Other foam-backed finishing discs are used specifically to refine sanding scratches before polishing, while separate abrasive formats are reserved for correcting paint defects such as runs or orange peel. Keeping these distinctions clear prevents a fine-finishing product being pressed into service for a job it was never designed to do.
Matching Grit to the Sanding Stage
Grit selection should follow the repair stage, not personal habit or whatever happens to be closest to hand on the bench.
Fine Finish Is Not Paint Removal
A fine-finishing abrasive is not built for removing paint or shaping filler, and using one for that purpose simply wastes time without achieving the desired result. The required grit should come from the paint-system technical data for the products in use, since manufacturers specify these grades for good reason, tied to how their primers, basecoats and clearcoats are formulated to key and bond. Swapping to a finer or coarser product because it feels more comfortable, rather than because the specification calls for it, is one of the more common and avoidable mistakes in a bodyshop setting.
Confirming Hand or Machine Compatibility
Check whether a given abrasive is intended for hand use or designed for a particular machine and backing system before fitting it to a tool. Using the specified attachment and operating method, rather than improvising a combination that happens to fit, keeps the abrasive performing the way it was engineered to. A foam-backed disc and a foam sanding sponge are different formats serving different purposes, and mixing up how each is meant to be held or powered can undermine the result even when the grit itself is correct.
When a Rigid Tool Suits Better
Flexibility is an advantage on contours, but it can work against a repair where the surface actually needs to be made flat and even.
Controlled Flattening Versus Contour Sanding
A rigid disc or hand block is often the better tool where a repair requires controlled flattening of a surface, such as levelling filler or knocking back a high spot. A flexible foam product, by contrast, is more useful where the panel’s contour or the specification’s finish requirement calls for a backing that can follow a shape rather than press flat against it. The right choice depends on the surface being worked, the coating involved, the tool available and what the next step in the repair actually demands.
Misreading this distinction is a common source of uneven preparation. A flexible pad used where flatness is needed can leave low spots untouched while cutting into surrounding high areas, while a rigid pad forced onto a curved panel can cut flats into a shape that was never meant to be flat. Matching the tool’s rigidity to the task, rather than defaulting to whichever is more familiar, solves most of these problems before they start.
A Practical Selection Checklist
Having a consistent process to run through before picking up an abrasive removes much of the guesswork from this decision.
Six Steps Before You Start Sanding
- Identify the substrate and coating that need preparing, since this affects both the grit and the format required.
- Confirm the required grit from the relevant paint-system technical data rather than estimating it.
- Check the abrasive’s stated purpose, and whether it is foam-backed, flexible, or intended specifically for dry sanding.
- Verify tool and attachment compatibility before fitting the abrasive to any machine.
- Protect vulnerable edges and raised body lines, and inspect the scratch pattern as work progresses.
- Remove dust and clean the surface using the approved process before moving on to the next coating stage.
Running through these steps takes only a moment but catches most of the errors that lead to rework, uneven finishes or coating damage further down the line.
Choose the Abrasive for the Task, Not the Feel
Foam-backed abrasives earn their place in a well-run bodyshop by solving a specific problem: keeping an abrasive in even contact with a shaped surface. That benefit only holds up when the grade, density and intended use are matched correctly to the substrate, the stage of repair and the finish the next coating demands. Products vary considerably in foam density, flexibility, abrasive grain, backing and grade, so checking current product documentation and testing a setup where appropriate remains good practice rather than an optional extra.
For a wider look at how grades and formats differ across a full sanding sequence, a dedicated range of abrasives is worth reviewing before the next repair reaches the sanding bench.