
Discs, Sheets, Strips & Rolls: Choosing Sanding Abrasives for Bodyshop Repairs
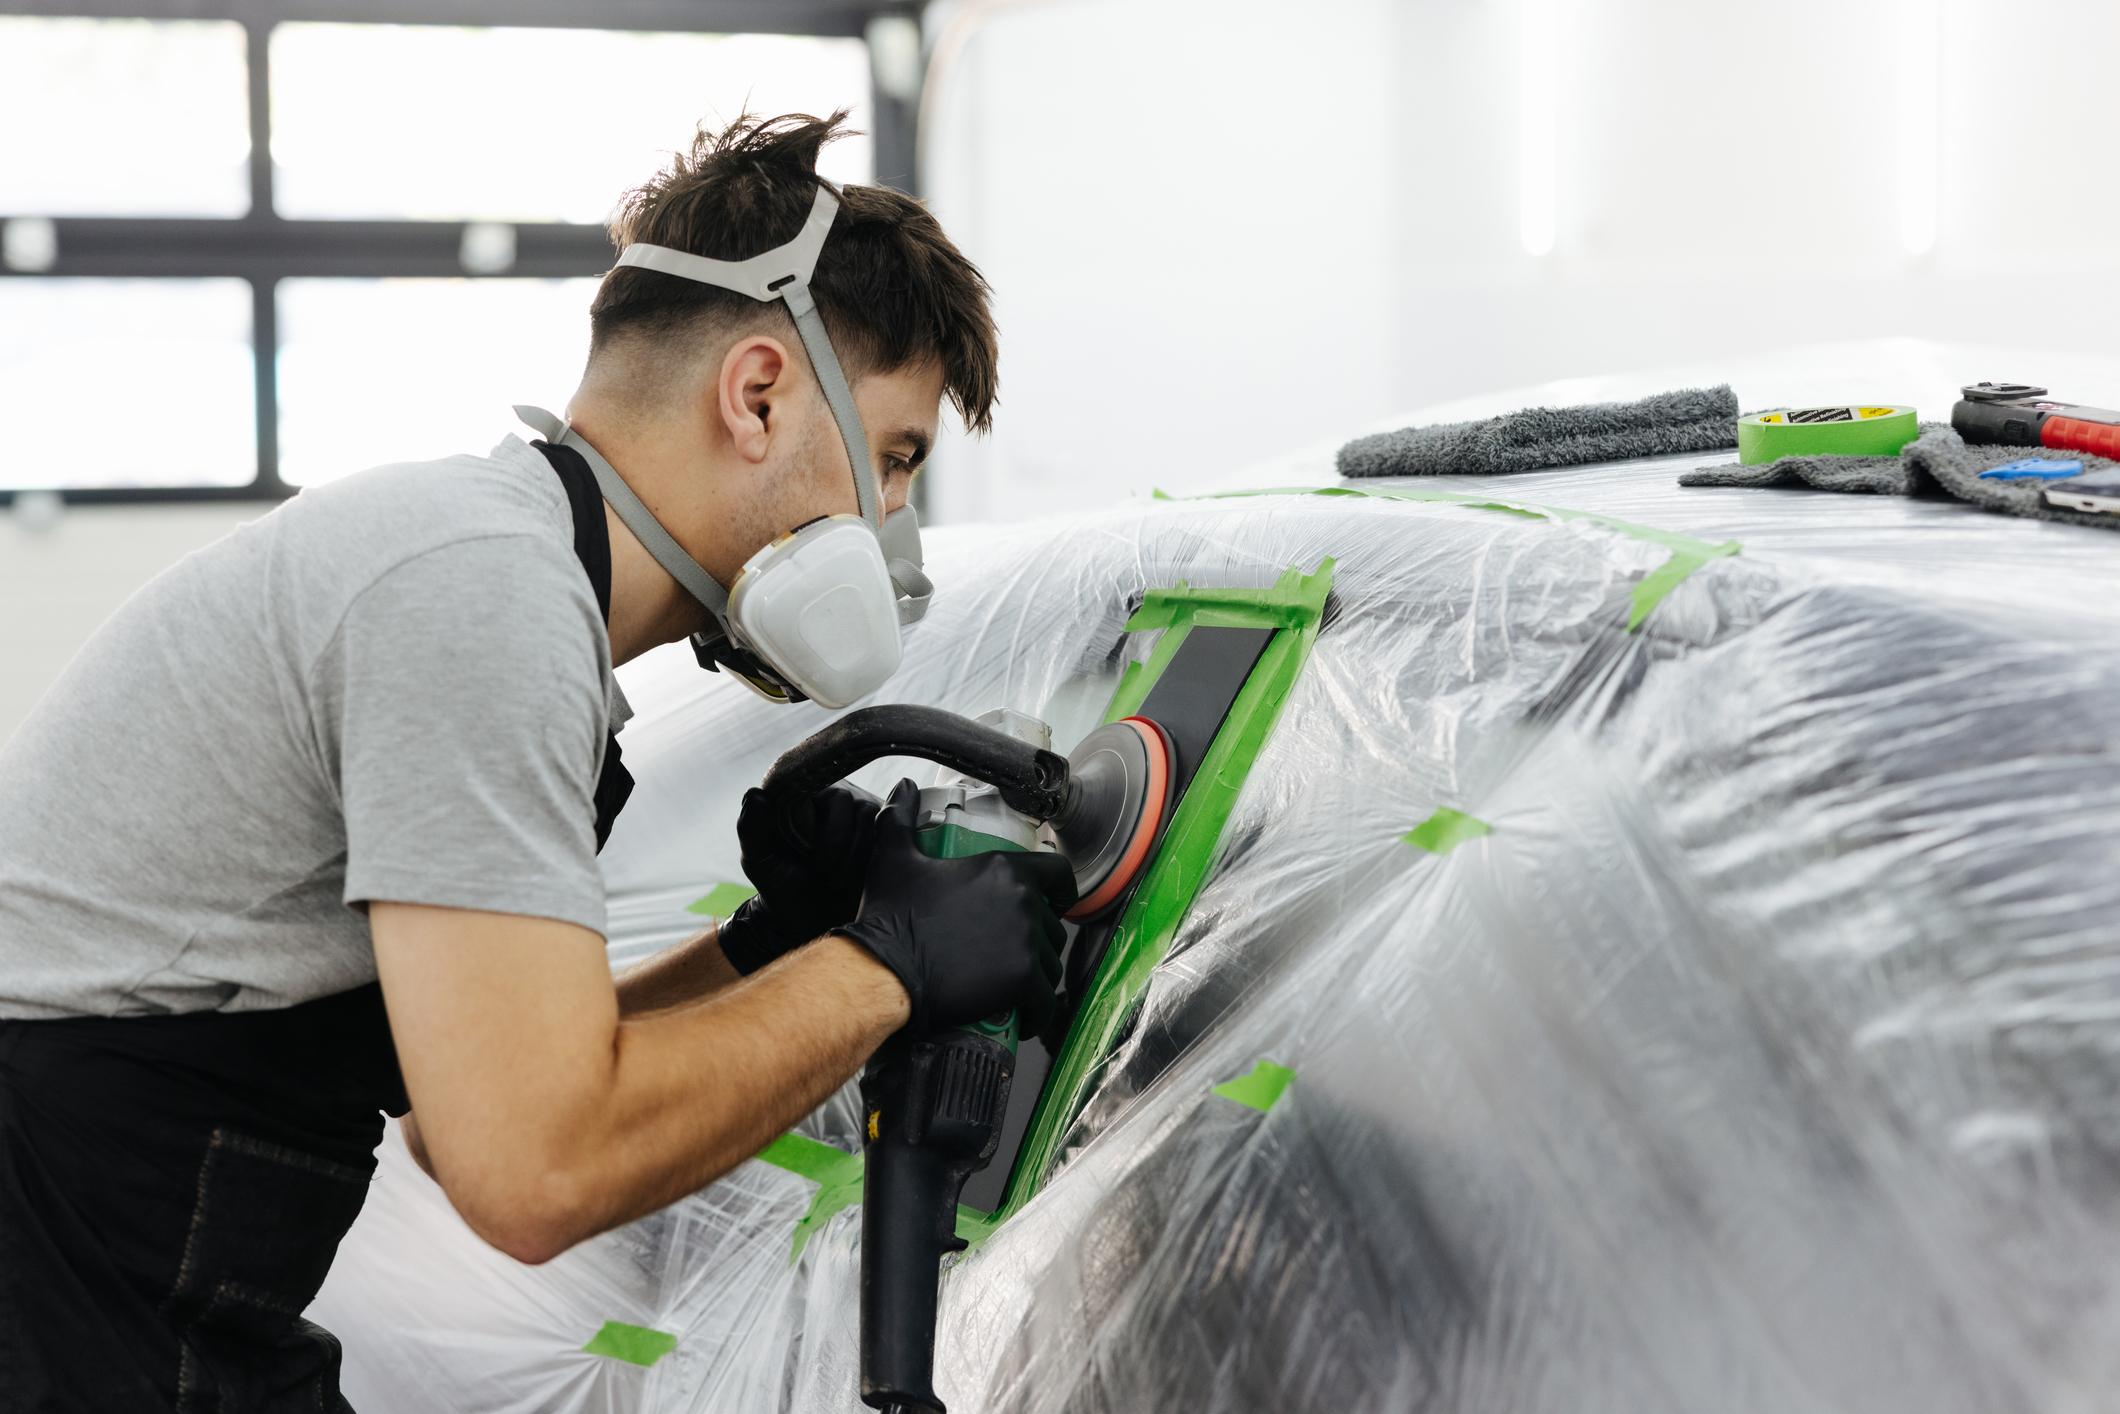
Grabbing the wrong disc, sheet or strip can quietly undo hours of bodywork, causing adhesion issues that only surface once the panel’s painted. Which format actually suits your repair, tool and grit stage? The answer isn’t as obvious as it seems.
Key Takeaways
- Matching the abrasive format to the repair area, tool, and required finish helps avoid wasted materials and inconsistent results
- Sanding discs need checking against machine diameter, attachment type, grit range and dust-extraction setup before use
- Sheets suit hand sanding and feather-edging, especially paired with a hand block for flat, controlled work on body lines and panel edges
- Narrow strips and flexible rolls fill specific gaps in a bodyshop kit, from tight profiles to variable bench lengths
- Working through the grit range in the correct order, and knowing which stage each grade belongs to, keeps the final finish free from visible scratches
Every repair panel tells its own story: a dent that needs stripping back to bare metal, a feather edge that needs blending invisibly into old paint, a clear coat that needs a final polish before it leaves the booth. The abrasive chosen for each of those stages matters just as much as the paint system applied afterwards, and getting the format wrong can undo hours of careful bodywork.
Match The Format To The Repair
Abrasives are not supplied in a single shape for good reason. Discs, sheets, strips and rolls each behave differently once they are loaded into a tool or pressed by hand against a panel, and the right pick depends on the repair area, the tool being used, the finish required and the abrasive system specified for that particular job. A format should never be chosen on price alone, since it also needs to suit the substrate and the coating going on afterwards.
Technicians who work across varied repair types – a wing one day, a full bonnet re-spray the next – benefit from treating format selection as a deliberate step rather than a habit. IPS Paint supplies abrasive discs, sheets and other formats to bodyshops across South Wales and beyond, and the guidance that follows reflects the practical questions worth asking before any order goes in.
Getting this right from the outset also protects the paint system further down the line. A surface sanded with the wrong format, or finished at the wrong grit, can cause adhesion problems or show through in the final coat, so the decision made at the abrasive stage carries consequences well beyond the sanding bench itself.
Discs For Machine Sanding
Sanding discs are the natural partner for random-orbital and other approved sanding machines, and they tend to be the most efficient choice for repeatable work across broad, open areas. Roofs, bonnets, door panels and wings all respond well to disc-based machine sanding, particularly where a dual-action sander is already set up and the technician needs consistent coverage over a larger surface.
Checking Diameter, Attachment And Extraction
Before any disc goes anywhere near a backing pad, a few details need confirming. A disc that does not match its pad correctly can compromise both control and dust extraction, which creates problems well beyond a slightly awkward fit.
- Diameter must match the backing pad precisely, not just appear close enough by eye
- Attachment type – hook-and-loop or adhesive-backed – needs to suit the machine
- Grit range should cover the stages the job requires, from stripping through to finishing
- Extraction-hole pattern must line up with the pad and machine, particularly where dry sanding is specified
Discs On Larger Panels And Curved Areas
Flat panels are the easiest case, but curved sections such as bumpers and wheel arches ask more of both the disc and the technician. A soft interface pad fitted between the backing pad and the disc is often advisable here, giving the abrasive enough flex to follow the curve without digging in or leaving an uneven pattern. A properly blended repair often needs some hand sanding around curves, body lines and arches first, followed by disc-based machine sanding to remove the inline scratches that hand sanding can leave behind.
Sheets And Strips For Hand Work
Sheets give a technician flexibility that a machine sometimes cannot provide, particularly for feather-edging, refining body lines after machine work, or handling small, awkward areas where a power tool risks going too far. They can be used wet or dry, by hand or on a compatible tool, which makes them a genuinely versatile addition to any sanding process. Waterproof sheet abrasive, in particular, suits wet sanding of primer and clear coat, where a lighter touch and finer control are needed than a machine typically offers.
When To Use A Hand Block
Unsupported sheet abrasive can flex unpredictably under hand pressure, making it harder to produce a flat, even result on cured body filler or primer. Pairing the sheet with an appropriate hand block spreads pressure evenly and keeps the sanding pattern controlled, rather than leaving high or low spots that show through later. A sheet should only be folded or cut where the product design actually permits it, since a folded edge can gouge the surface rather than smooth it.
Narrow Strips For Profiles And Edges
Some repair areas simply will not accept a full-sized sheet or disc. Narrow strips suit tight profiles, specific edge repairs, or tools designed around a strip format, such as a file belt used to open up a sanding spot rather than a drill bit. Dimensions and attachment method need checking before ordering, since a strip that looks like the right width on paper will not necessarily fit a particular hand block or machine.
Rolls For Flexible Bench Use
Abrasive rolls earn their place at the bench through sheer flexibility. Rather than committing to a fixed sheet or disc size, a roll lets a technician cut whatever length suits the task in hand, which is useful when jobs vary in scale from one day to the next. Non-woven abrasive rolls and pads, in particular, are handy for scuffing metal or old paint surfaces before paint or primer goes on, giving a consistent key without the aggression of a coarser disc.
Cutting a roll to size is not always neutral, though. It is worth checking the product’s intended application first, since trimming it down can change how it attaches to a tool or how it performs once in use, particularly with rolls designed for a specific holder or dispenser.
Five Checks Before Choosing
Before placing an order, five practical checks help narrow down the right format and grade for the job ahead.
Task, Surface And Tool
Material removal, shaping, refining scratches, scuffing and final preparation are distinct jobs, and each one calls for a different abrasive behaviour. The surface shape matters just as much: a broad flat panel, a curved bumper and a narrow edge each need a different level of support and control from the abrasive chosen. Alongside this, the tool itself needs verifying – disc diameter, attachment, hole pattern and the machine’s permitted operating conditions all need to line up before work starts.
The Next Coating Step
Sanding is rarely the final stage of a repair; it is preparation for whatever coating comes next. The abrasive chosen has to leave the surface in the condition the paint system’s instructions call for, whether that is a certain scratch pattern for primer adhesion or a particular smoothness ahead of a basecoat. Skipping this check risks adhesion issues that only become obvious once the panel is already painted.
Dust-Control Setup
Where dry sanding is specified, the abrasive, backing pad, machine and extraction arrangement all need to work as a compatible set. A disc with the wrong hole pattern, for instance, can starve the extraction system even if the diameter and attachment are otherwise correct, leaving dust in the workspace rather than captured at source.
Working Through The Grit Range
Grit numbers work in reverse to how they might first appear: a lower number means a more aggressive, coarser abrasive, while a higher number means a finer one. Progressing through the grit range in the correct order, from coarse to fine, reduces the risk of earlier scratches remaining visible through the finished coat.
A rough stage-by-stage association is worth bearing in mind:
- P40 to P120 for stripping back to bare substrate
- P150 to P280 for shaping and refining body filler and putties
- P320 to P500 for preparing surfaces ahead of primer
- P2000 to P7500 for final finishing and polishing stages
Paper backing thickness plays its own part here too. Thicker backing tends to last longer and run cooler under load, which suits the coarser, more aggressive stages, while thinner backing is generally paired with the finer grades used later in the process.
Why Stocking Several Formats Helps
Forcing every repair through a single abrasive format might seem simpler on the surface, but it tends to create more problems than it solves. A workshop that keeps several formats on hand – discs, sheets, strips and rolls – can match each job to the right tool rather than improvising with whatever happens to be nearest. This consistency pays off in fewer unnecessary changes mid-job, less wasted material, and a lower chance of a technician reaching for an unsuitable substitute under time pressure.
Keeping products clearly identified and properly stored also matters here, since it allows the team to select the correct grade and format quickly rather than guessing. A practical buying checklist helps too: recording the machine model, backing-pad size, attachment type, extraction layout, the repair tasks handled most often, and the grit grades specified by the paint system in use gives a clear reference point when comparing new products. Where a process or substrate is unusual, checking with the abrasive and coating manufacturers before substituting a different product remains the safer route.
Getting The Format Right Avoids Waste
Choosing between discs, sheets, strips and rolls comes down to matching the format to the repair area, the tool and its attachment, the sanding task at hand, the dust-control setup in place, and the surface condition the next coating step requires. None of these checks takes long once they become routine, but skipping them tends to show up later as wasted abrasive, inconsistent panel finishes, or coating problems that could have been avoided at the sanding stage.
For technicians building or refreshing a sanding kit, reviewing a full abrasives range against the checks above provides a practical starting point for matching stock to the jobs that come through the door most often.