
Heavy Grime, Fresh Paint or Trim? IPS Explains Choosing the Right Wheel Cleaner
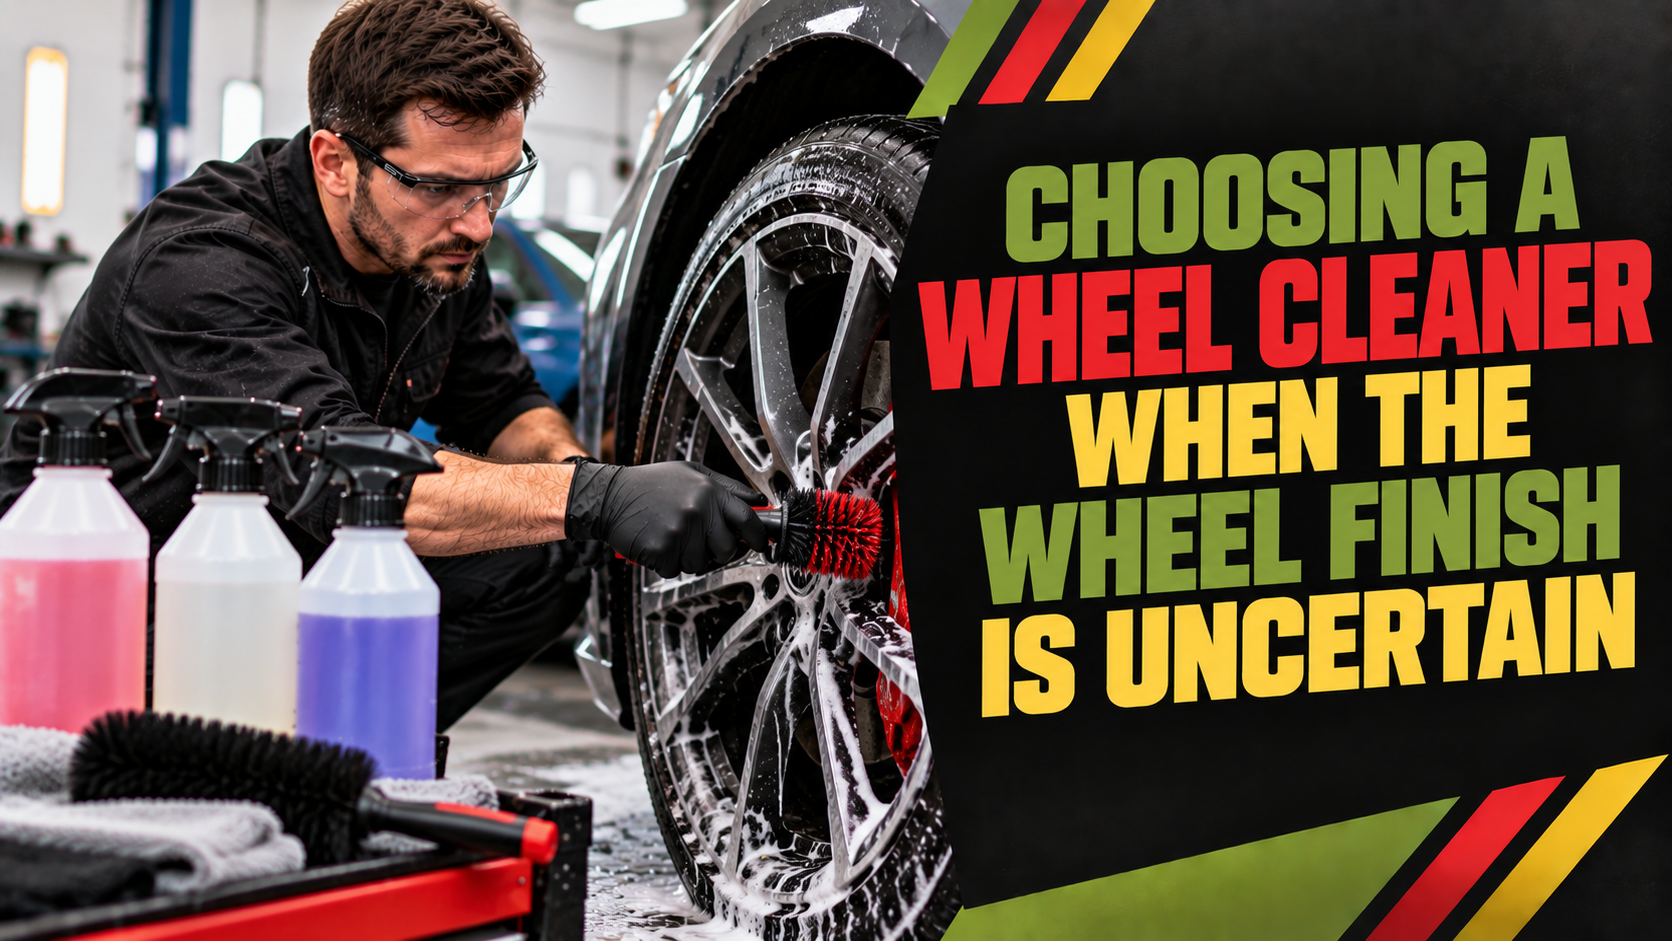
When a wheel’s finish is unknown or it has been refurbished, choosing a cleaner by strength alone is risky. Check the finish, condition and product instructions first, then confirm that the cleaner is suitable before applying it.
Key Takeaways
- Identify the wheel finish and check for refurbishment or coating damage before choosing a cleaner.
- A general “safe for alloys” or “acid-free” claim does not guarantee compatibility with every wheel.
- Check the cleaner’s approved surfaces, dilution, dwell time and warnings before use.
- If the finish remains uncertain, pretest where directed or confirm compatibility with the wheel finisher or product manufacturer.
- If the product excludes the surface, stop and choose a compatible alternative.Wheels take more punishment than almost any other part of a vehicle. Between brake dust, road film and baked-on grime, they need a cleaner strong enough to cut through the mess without attacking the finish underneath, or anything sitting nearby.
That balance matters more than many detailers realise. Reach for a product that’s too aggressive and a flawless set of alloys, a freshly sprayed panel, or a strip of plastic trim can end up paying the price. The safest approach starts with reading the surface and the dirt before reaching for a bottle. A quick browse of professional-grade cleaning products shows just how varied wheel cleaner chemistry really is, and why one bottle rarely suits every job.
This guide walks through how to match cleaner chemistry to grime level, why wheel finish changes the answer, and how to protect fresh paint and trim while still getting wheels properly clean.
Start With the Wheel, Not the Cleaner
Before selecting a wheel cleaner, identify the surface as far as possible. A wheel may be painted and lacquered, polished, plated, aftermarket or recently refurbished, and damage to the coating can add further uncertainty.
Ask about previous refurbishment where possible and inspect for exposed metal, damaged clear coat or an unusual finish. Then check the cleaner’s approved surfaces, dilution, dwell time and warnings.
An “acid-free” label can be useful, but it is not a universal guarantee of compatibility. For example, Autoglym instructs users of its acid-free Heavy Duty Wheel Cleaner to pretest alloy or plated parts, aftermarket and refurbished wheels, and its instructions also exclude certain finishes. The individual product instructions therefore matter more than the category name.
Why Wheel Finish Changes the Answer
Grime level only tells half the story. The finish on the wheel itself plays just as large a role in deciding what is safe to use, since different surfaces react to chemicals in very different ways. Identifying the finish before opening any bottle avoids guesswork later.
When the Finish Is Uncertain
Do not assume that terms such as “acid-free”, “pH-neutral” or “safe for alloys” make a cleaner suitable for every wheel finish. Check the manufacturer’s specific compatibility information for the wheel in front of you.
If the wheel is aftermarket, refurbished, damaged or the finish cannot be identified confidently, follow any manufacturer requirement to pretest on an inconspicuous area. Where compatibility remains uncertain, seek confirmation from the wheel finisher or product manufacturer before continuing.
Protecting Fresh Paint, Trim and Nearby Components
Wheel cleaning rarely happens in isolation. Calipers, rotors, suspension components and plastic trim all sit close enough to come into contact with overspray or runoff, and each can respond differently to the chemical in use. A product considered safe for painted wheels is not automatically safe for every nearby part, so a quick visual check before starting pays off.
Before applying anything, it helps to assess the whole wheel area for sensitive trim, fresh or repaired paint, graphics, exposed metal and protective coatings, since each of these can influence which product makes sense. Many wheel cleaners are formulated to be safe on painted surfaces, including car paint generally, but using products exactly as designed and keeping them away from unprotected plastic trim remains the safer habit. Where a vehicle has recent paintwork or a repair, treating the whole area with extra caution, rather than assuming one product will suit every surface nearby, avoids an expensive mistake.
Know When to Stop
If contamination remains after the cleaner has been applied correctly, reassess the contamination and wheel finish rather than automatically extending the dwell time or moving to a stronger chemical.
Follow the manufacturer’s permitted surface conditions and rinse thoroughly. If the wheel finish remains uncertain or the product instructions exclude that surface, stop and select a compatible alternative.
Applying Wheel Cleaner Safely
Even the right product can cause problems if applied carelessly. A handful of habits separate a safe, effective clean from one that leaves marks or residue behind.
Pretesting, Dilution and Dwell Time
Pretesting on a small, inconspicuous area, where the manufacturer directs it, catches compatibility issues before they spread across a whole wheel. Using the correct dilution for the level of grime matters too, since concentrated wheel cleaners are typically diluted more heavily for light maintenance and less for heavy, neglected build-up. Dwell time should follow the product instructions closely; leaving a cleaner on longer than recommended, in the hope of a better result, is one of the more common ways finishes get damaged.
Avoiding Heat, Sunlight and Dried-On Residue
Heat and sunlight speed up how quickly a cleaner dries and how aggressively it reacts with the surface, so applying products to hot wheels, hot brake components or a vehicle parked in direct sun increases the risk of streaking, staining or etching. Letting any cleaner dry on the surface should be avoided altogether; if a product starts drying before it can be rinsed, more water or a faster working pace solves the problem better than leaving it in place.
Agitating, Rinsing and Working One Wheel at a Time
A soft brush or sponge helps agitate the cleaner into tighter areas, such as around spokes and lug nuts, where dirt tends to collect. A thorough rinse afterwards removes all residue, which matters just as much for safety as for appearance. Working one wheel at a time, rather than spraying all four and circling back, keeps dwell time consistent and reduces the chance of a product drying before it can be rinsed off properly. Where heavy grime remains after rinsing, reassessing the approach makes more sense than dragging it across the panel with a mitt.
Match the Chemistry to the Job, Not the Strongest Bottle
The strongest product on the shelf is rarely the right one for every wheel. Matching the cleaner to the grime level, the finish, and whatever fresh paint or trim sits nearby gives a cleaner result with far less risk of damage along the way. A little patience at the product-selection stage saves a lot of frustration, and expense, later on.
For those building a kit that covers the full range of finishes and grime levels, choosing from a range of wheel and surface cleaners built for professional use makes it easier to match product to job every time.