
Valeting Chemicals for Bodyshops: Choosing by Task, Not the Bottle
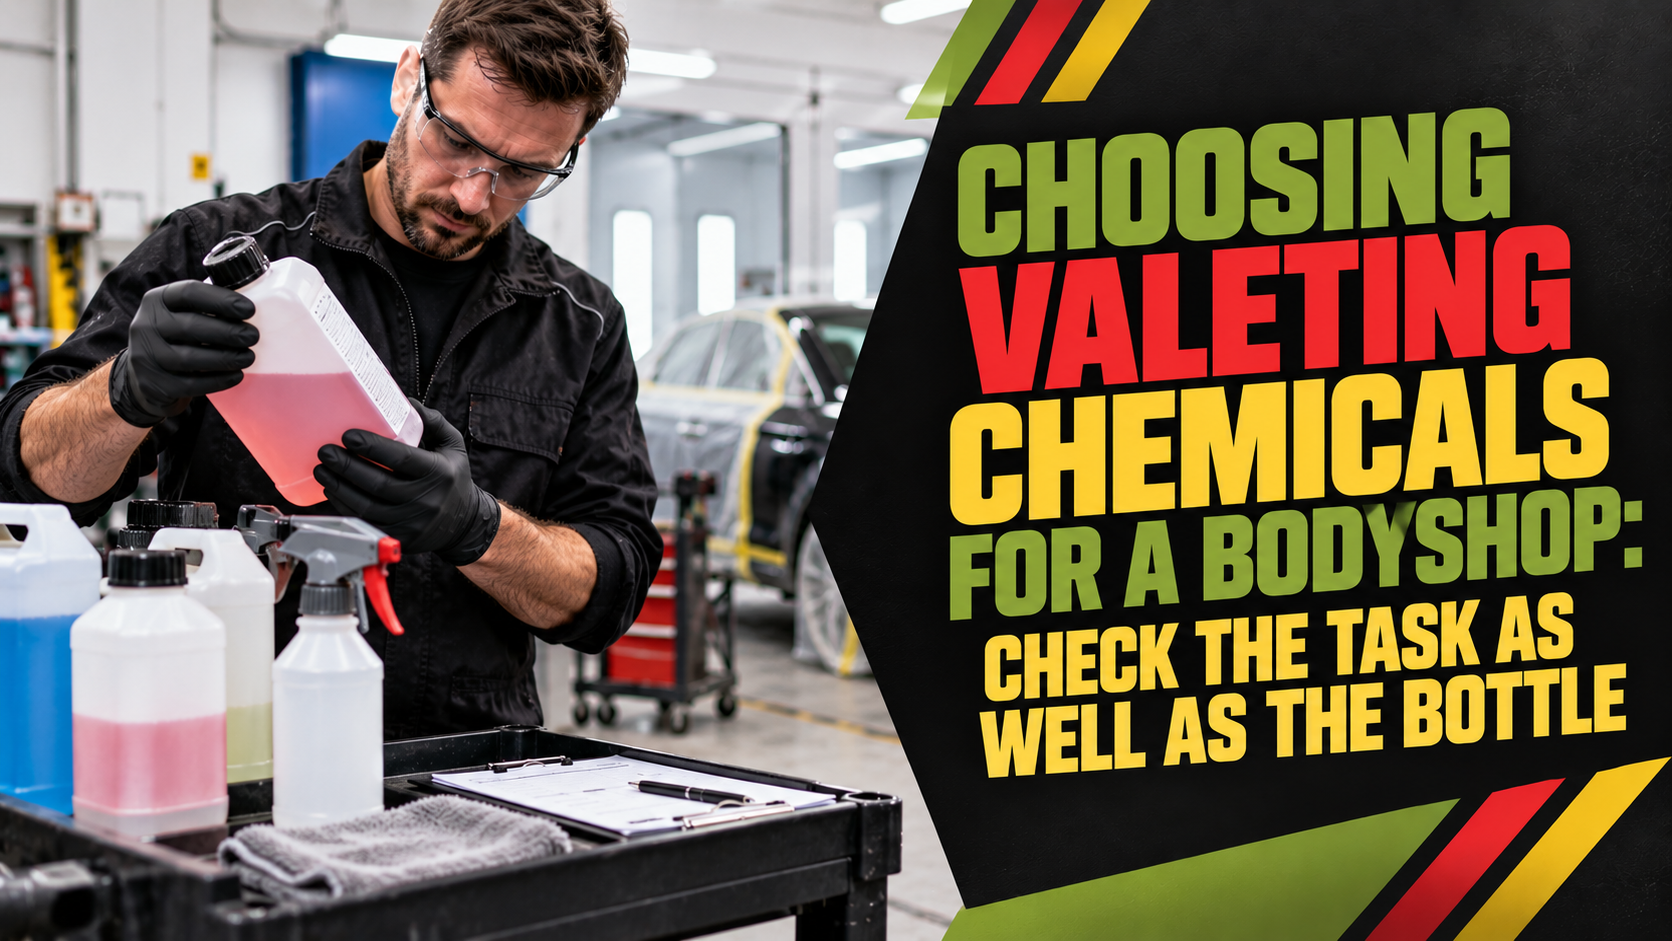
Grabbing whichever bottle sits closest on the shelf could be quietly wrecking your finishes and your budget. One wrong dilution ratio can strip coatings or waste product entirely – so how should bodyshops actually be choosing their valeting chemicals?
Key Takeaways
- Valeting chemicals should be chosen to match contamination, surface and task rather than picked by bottle size or bold label claims
- Concentrates offer flexibility across different jobs, but only when dilution is measured accurately rather than guessed by eye
- COSHH assessments must cover dispensing, splashes, storage and exposure response for every hazardous valeting chemical in use
- Comparing cost per properly prepared working litre reveals whether a cheaper-looking bottle is really the better buy
- Correct labelling of working bottles, including product identity and dilution date, keeps a whole team working from the same information
Why The Bottle Isn’t The Answer
Walk into any bodyshop stores cupboard and there’s a good chance a shelf full of brightly labelled bottles greets you, each one promising to cut through grease, lift traffic film, or leave paintwork gleaming. It’s tempting to grab whatever sits at eye level or whichever tub carries the boldest claim. That habit, though, is exactly where inconsistent results and wasted product start to creep in.
The question worth asking isn’t which bottle looks the part, but whether the chemistry inside matches the contamination, the surface and the specific job in front of the technician. A pre-wash snow foam, an interior fabric cleaner and a heavy-duty degreaser for engine bays behave very differently, even when they sit side by side on a shelf looking similarly generic.
For bodyshop managers juggling throughput targets and quality checks, task-led buying removes a lot of guesswork. IPS Paint supplies valeting chemicals and consumables to workshops across South Wales and beyond, and one point worth repeating to any team is that the label and technical sheet, rather than the packaging, should always guide the decision. Embedding that habit across a team pays off in cleaner cars, safer working practices and fewer product returns.
Matching Chemistry To The Job
Contamination, Surface And Task Must Align
Every valeting task carries its own combination of variables: what’s being removed, what surface it’s sitting on, and how the product will actually be applied. A cleaner designed to strip road grime from wheel arches is a poor match for interior leather, and a fabric-safe upholstery spray won’t touch baked-on tar from an alloy wheel. Trade sources covering detailing consistently point to matching chemistry with contamination, surface and task as the route to faster, more consistent outcomes, rather than relying on one all-purpose product to cover every eventuality.
The product’s chemistry, concentration and surface compatibility all matter. Rather than choosing a cleaner by pH alone, check the manufacturer’s intended use, application instructions and relevant surface restrictions. Where compatibility is uncertain, confirm it before using the product on the vehicle. The HSE guidance specifically addresses vehicle valeting, solvents, skin/eye contact, ventilation and suitable PPE.
Why Concentrates Offer Task Flexibility
Some professional valeting products are supplied as concentrates with different dilution instructions for different approved tasks. That flexibility only works when the workshop follows the manufacturer’s current instructions rather than simply making the solution stronger for heavier contamination.
Every operator should know what is in the working bottle, how it was prepared and which task it is intended for. This helps keep product use consistent across the workshop.
Getting Dilution Right Every Time
Check Label, Technical Sheet And SDS First
Before any concentrate goes anywhere near a measuring jug, the label, technical information and safety data sheet deserve a proper read. A cleaner may have different dilution guidance for different uses, so the ratio suited to a pre-wash foam stage won’t necessarily be the one printed for interior trim cleaning on the same bottle. Building this check into the daily routine, rather than treating it as a one-off induction task, matters because manufacturers do update instructions from time to time.
Never transfer a ratio from another brand or assume that a stronger mix gives a better finish. Dilution ratios are typically written as one part product to a set number of parts water, for example 1:4, meaning the finished solution is made up of five equal parts in total. As a working example only, a one-litre bottle mixed at that ratio would need 200ml of concentrate and 800ml of water; this is arithmetic to illustrate the maths, not a recommendation tied to any particular product, since every manufacturer’s own ratio and mixing order should be followed exactly as printed.
Risks Of Guessing Or Overstrengthening
Using a product that is too weak simply won’t clean effectively, leaving technicians scrubbing harder and longer to compensate. Going too strong carries its own set of problems, and can risk damaging surfaces, stripping protective coatings, or wasting product that never needed to be mixed at that strength in the first place.
Guessing quantities by eye is one of the easiest habits to fall into during a busy shift, and one of the costliest to correct later. A clearly identified measuring and dispensing method removes that uncertainty altogether:
- Dedicated measuring jugs or dosing pumps calibrated to the product in use
- Clear markings on mixing containers so technicians aren’t relying on memory
- A short reference sheet posted near the mixing station showing the correct ratio for each task
Labelling And Refreshing Working Bottles
Once a working solution is mixed, the bottle it goes into becomes its own small safety document. Marking the working bottle with the product identity, dilution, preparation date where the workplace procedure requires it, and any hazard information required by the assessment stops a bottle becoming a guessing game for the next person who picks it up.
Training staff to make a fresh batch when the manufacturer’s storage instructions require one closes off another common shortcut. Diluted solutions don’t always hold their effectiveness indefinitely, and topping up an old batch with fresh concentrate rather than starting again can leave technicians working with an inconsistent, unverified mix.
Staying Compliant With COSHH
What A COSHH Assessment Must Cover
COSHH requires employers to assess the risks from hazardous substances and prevent exposure or, where that is not reasonably practicable, adequately control it. In vehicle valeting, some cleaners and solvent-based products can present risks through skin or eye contact, mist or vapour, so the assessment needs to reflect the products and working methods actually used.
Consider who may be exposed, how exposure could occur, what controls are needed and how those controls will be maintained. For valeting chemicals, this can include dispensing and spraying, possible splashes or mist, ventilation, storage and what to do after accidental exposure. Employers with five or more employees must record the significant findings of their COSHH assessment; HSE advises smaller employers to keep a record as good practice. HSE COSSH Guidance.
Controls, PPE And Ventilation In Practice
Written assessments only protect anyone if the controls they describe actually happen on the workshop floor. Providing the controls and protective equipment specified for the task is the practical follow-through, and it tends to look like:
- Gloves and eye protection suited to the specific chemical in use, rather than a generic pair kept in a drawer
- Ventilation arrangements that prevent vapour or mist building up, particularly when working inside a vehicle cabin
- Clear signage or briefing so new starters understand the controls before handling a product for the first time
Staff should be trained on the hazardous chemicals in their work area before they’re first assigned relevant tasks, and again whenever new hazards are introduced, including how to read labels and safety data sheets. Building that training into onboarding, rather than treating it as a box to tick once a year, keeps the whole team confident with what they’re handling. HSE’s current SR17 specifically covers solvent-based vehicle valeting and controlling exposure.
Comparing Cost Beyond The Container Price
Price still matters, but it should come after suitability and safe use. When comparing suitable products, cost per properly prepared working litre can be more useful than simply comparing container prices. The first priority, however, is choosing a product that matches the task, surface and workshop controls
Task-Led Buying Beats Guesswork Every Time
Choosing valeting chemicals by task rather than by bottle doesn’t require a complicated overhaul, just a bit of discipline built into everyday routines. Matching chemistry to contamination and surface, getting dilution right through proper measuring rather than guesswork, keeping COSHH assessments current, and comparing true cost per working litre all point in the same direction: informed decisions beat convenient ones.
Bodyshop managers who build this thinking into staff training and stock ordering tend to see the payoff quickly, in fewer product returns, more consistent finishes and safer working conditions on the floor. For teams ready to put this into practice, browsing valeting and detailing chemicals suited to specific tasks is a sensible next step.